How can you improve your winter photography skills?
Snow and winter landscapes make for very photogenic backgrounds, but they can be tricky to handle, especially if you’re a novice photographer. Here are a few tips and methods for shooting in the snow to take fantastic winter photography before the end of the season:
Focus on Composition
The essential principles of composition remain the same, no matter what type of photograph you take. When you take snow photos, you can get more creative with your composition because you can find interesting focal points of interest and contrast to the snowy landscape.
The contrast of white snow and dark shapes could be an excellent inspiration for composing and framing your shots. The Rule of Thirds is a tried-and-tested classic you could use for landscape shots.
As with any photography style, you can break the rules for really awesome shots from time to time. Shoot portraits from above, use snow on the ground as natural reflectors and use the details of your subject’s face against the pure white background of fresh snow.
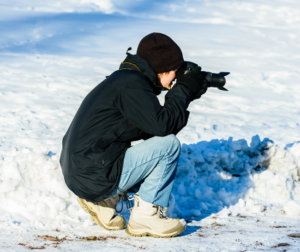
Get down and down to shoot snow details or fallen leaves or twigs or step back and capture snow-covered rooftops with a wide lens for a new perspective.
Check Your Exposure
One of the most common issues when shooting winter photography is to end up with a back lit subject, especially if you’re shooting portraits. Experts always recommend the use of a light meter so that you can take accurate exposure readings and have a subject that is well lit all around.
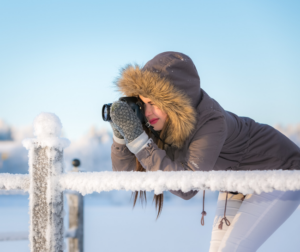
Exposure Compensation is the best tool to prevent overexposed or underexposed shots, and most cameras have this feature built-in. You may need to take a few shots before getting the right exposure to a snowy setting, but this could mean the difference between great snow photos and images that you cannot use.
Aim for Accurate White Balance
Snow is very reflective and may cause the white balance settings of your camera to go haywire. This can be seen in the bluish or grayish tint that you can take with your first winter photography, especially if you have under-exposed your shots.
To get an accurate white balance, use the custom white balance feature of your camera, which allows you to measure the most accurate white balance by selecting the setting where the snow is closest to white.
Brand new camera models have a one-touch white balance feature, but you may need to adjust your white balance manually if you’re using older models.
Shoot Winter Photography in RAW
Many professional photographers shoot in RAW only and for a good reason. Shooting in the snow will often result in a few under-exposed or over-exposed photos, especially if you’re new to photography or if this is your first time shooting in an all-white landscape.
To make sure that you can still work with these images, save your photos in RAW format to retrieve more detail in post-processing.
The RAW file format lets you make corrections that would otherwise be impossible to correct if you were using JPEG files. RAW files will take up a ton of space on your memory card, so make sure you pack an extra one or two cards when you are out to shoot.
Take Advantage of Contrasts
Contrasts could easily be seen with winter photography, where you have light snow and dark subjects and details. You can direct the eye ‘s attention to a row of trees in the background, for example, if the trees are dark and sharply sketched, making them stand out against the foreground’s snowy whiteness.
Use white snow to act as a stage for shooting important objects and to make sure that the color, texture, and other details are in contrast to the white surface.
Overexpose
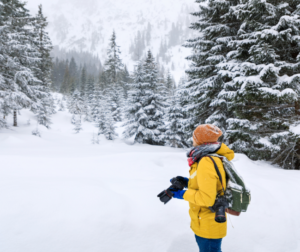
After all that talk about overexposure, a lot of people would think twice about overexposing their shots. However, you can overexpose one or two stops to make your photos feel brighter, without blowing away the details. Working with RAW also helps keep details visible even if you intentionally overexpose your shots.
When you’re overexposing your snow photos, you can get whiter snow and better contrast, allowing you to capture that bright, wintery feeling that snow tends to evoke.
Use Reflected Light
While every light reflected by the snow could affect how your camera projects the light and dark areas, you can also take advantage of snow’s ability to reflect light to shoot your subjects in the correct light.
Angle the subjects so that they are surrounded by white, mostly coming from the snow to get light areas where the necessary details, like the body or face, should be. The most helpful thing about reflected light is that it is a diffused, soft, kind of light that you won’t get with the camera’s built-in flash.
Choose Your Colors
If you are doing winter photography in the snow, dress up subjects in pastel and other light colors. White outfits are going to reflect more light and give you more highlights than you care about. Light and soft shades look more attractive against a white background because intense, deep colors tend to pop out of the picture and dominate the whole picture.
Try to add colors to the landscape shots too. Gradations and shades from light to dark will serve as an impressive contrast points in any winter photo.
More Stable Shots with a Tripod
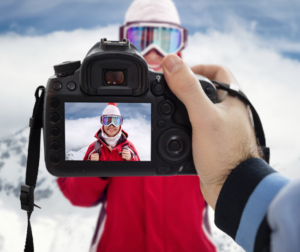
A tripod will stabilize the camera and allow you to take pictures at slow shutter speeds. If you need to capture snow with city lights in the background or a winter sunset, a tripod will capture sharp images even as the light fades.
These are just a few established techniques that may help you take your winter photography to the next level. While you know a few basic photos, they can help you nail some great shots.
Learning about techniques suited explicitly to snow and winter photography can help you capture the season in all its winter glory. Once you have your perfect winter photography and you’re ready to publish online, remember to add protection with Watermarquee easy to create watermark creator. Start watermarking today.


